Monday, 24 December 2012

Silent night


All is calm.


All is bright.


Merry Christmas from my family to yours.  See you in 2013.

Friday, 21 December 2012

Retro revival

Time for another sewing show and tell.  This gorgeous silky fabric originally formed the skirt part of a floor length maternity dress that my mother made for herself.  Once she no longer needed the dress, as thrifty mothers do, she removed the zip and stashed the material only for me to discover it and repurpose it a few decades later.


Unfortunately, there are no photos of her wearing it when she was expecting, and I forgot to take a photo before I took the seams apart so you'll just have to imagine a basic A-line skirt cut on the bias with a split where the zip would have been.

I love everything about this fabric, the pattern, the colours and thought it would make a great tunic. Because the fabric is really old and was stored for years without adequate protection, there were a few moth-eaten patches, so it was a very careful exercise to cut my own self-drafted sleeve and bodice pieces around the holes.

The front worked out well, the bias cut drapes well and I like the fluted sleeves.  I would have preferred the sleeves to be a little longer, but I was constrained by how much useable fabric there was to work with.  I had just enough fabric left for the neckline facing and bias binding.  It was meant to be.


Of course, there had to be several holes right in the middle of the back bodice and there was no way to avoid them, so the only option for me was to cut out a keyhole back.

Excuse the poor photo, it's really hard to photograph yourself and hide the mess in the background (heehee). Maybe one day I might be bold enough to wear the top back to front (ha!).


Degree of difficulty: This was my first time upcycling a garment and it was largely painless, surprisingly
Time taken: I forgot to take note of the time, maybe 4 hours, most of which was spent cutting around holly fabric (Autocorrect kept wanting to change that word from holey, it's Christmas, let's go with it)
Result: It's my go-to top when we go out (which is never, but if we were to go out, this would be my go-to top).

Wednesday, 19 December 2012

We washi you a Merry Christmas

After noticing the Santa sign on Aimee's door, the other bedroom door was feeling left out. These doves were inspired by a washi tape bird that I saw on the internet.


I didn't just wake up this morning and was suddenly able to draw, unfortunately, so I printed out a dove template from the internet and drew two outlines on the door. I really must remember to rub out the pencil marks before I take photos.


To achieve this look, I cut some striped tape into thin strips and criss-crossed them.  I soon got tired of that, so I cheated and cut the lime tape and spotted tape to size for the rest.


I like the way it looks when the light hits it.


Cost: $0
Time taken: 1 hour to make one
Result: Let there be peace on earth one washi dove at a time.

Tuesday, 18 December 2012

Patchwork crochet blanket

Give the lady a beer.  It's done.  It took 13 hours to stitch the squares together and then add the border, so I was MIA this weekend.  My husband, as patient as he is, is pretty pleased to have his wife back.  When I tallied up the total amount of time it took to make this blanket, he said, "Now multiply that by the minimum wage".  Point taken.  But isn't crafting as a hobby more about the enjoyment rather than any monetary gain?

Anyway, I am really pleased with how the blanket turned out, it's exactly as I imagined it to look even with a couple of happy mistakes.  Two squares are out of sequence because I crocheted a flower using white yarn rather than red, but you would never know unless I told you.  I also stitched the squares with the right sides facing rather than the prescribed wrong sides together so the raised ridges are on the back of the blanket.  It just looks nicer to me to have a smooth seam on the front.


However, just to spoil my party, my aching shoulder was the annoying uninvited guest who just refused to leave and now my wrist has pulled up a chair next to it.  Crochet - hazardous to your health. I might have to learn to crochet using my left hand.  Or my elbow.

Here is the amended Krista throw pattern that was helpfully compiled by members of a crochet support group on Facebook.  I have asked permission to post a link to it.  I wish I had waited and worked from this updated guide instead of enduring weeks of working from mistake-riddled patterns. It is a massive file, be warned, but the instructions are clear, there are step-by-step photographs and it will make for a much better crochet experience.


Cost: nearly my marriage
Time taken: Four and a half weeks
Result: I love it and I double dare anybody to disagree.

Friday, 14 December 2012

Paper baubles

Owing to the untimely deaths of some baubles in my disastrous wreath-making exercise, our Christmas tree is still looking a little bare in places so I had a go at making some paper baubles.

I used the paper from our weekend magazine, it's a bit better quality than newspaper so the newsprint doesn't smudge once glued.  To make the circles, I used a shot glass as a template (it doesn't see any other use nowadays, sadly).


Then I blew up a water balloon and started glueing the circles onto it, overlapping them and working my way around until the whole balloon was covered.

The font size and style worked really well.  Yes, some panels are upside down, and no, it wasn't intentional.


Then I decided to make more colourful ones.  Here is one in tonal greens using paper from the same magazine:

And in what could be a world first, I made some chevron ornaments.  You saw them here first people.  These were paper bags that I had left over from Sienna's birthday party.  They looked better in my head.


Cost: $0
Time taken: 30 minutes to make one
Result: Our Christmas tree looks very, um, rustic??!  Ok, it totally looks like we can't afford Christmas decorations, but I kinda like it, as do the girls.  My job here is done.

Thursday, 13 December 2012

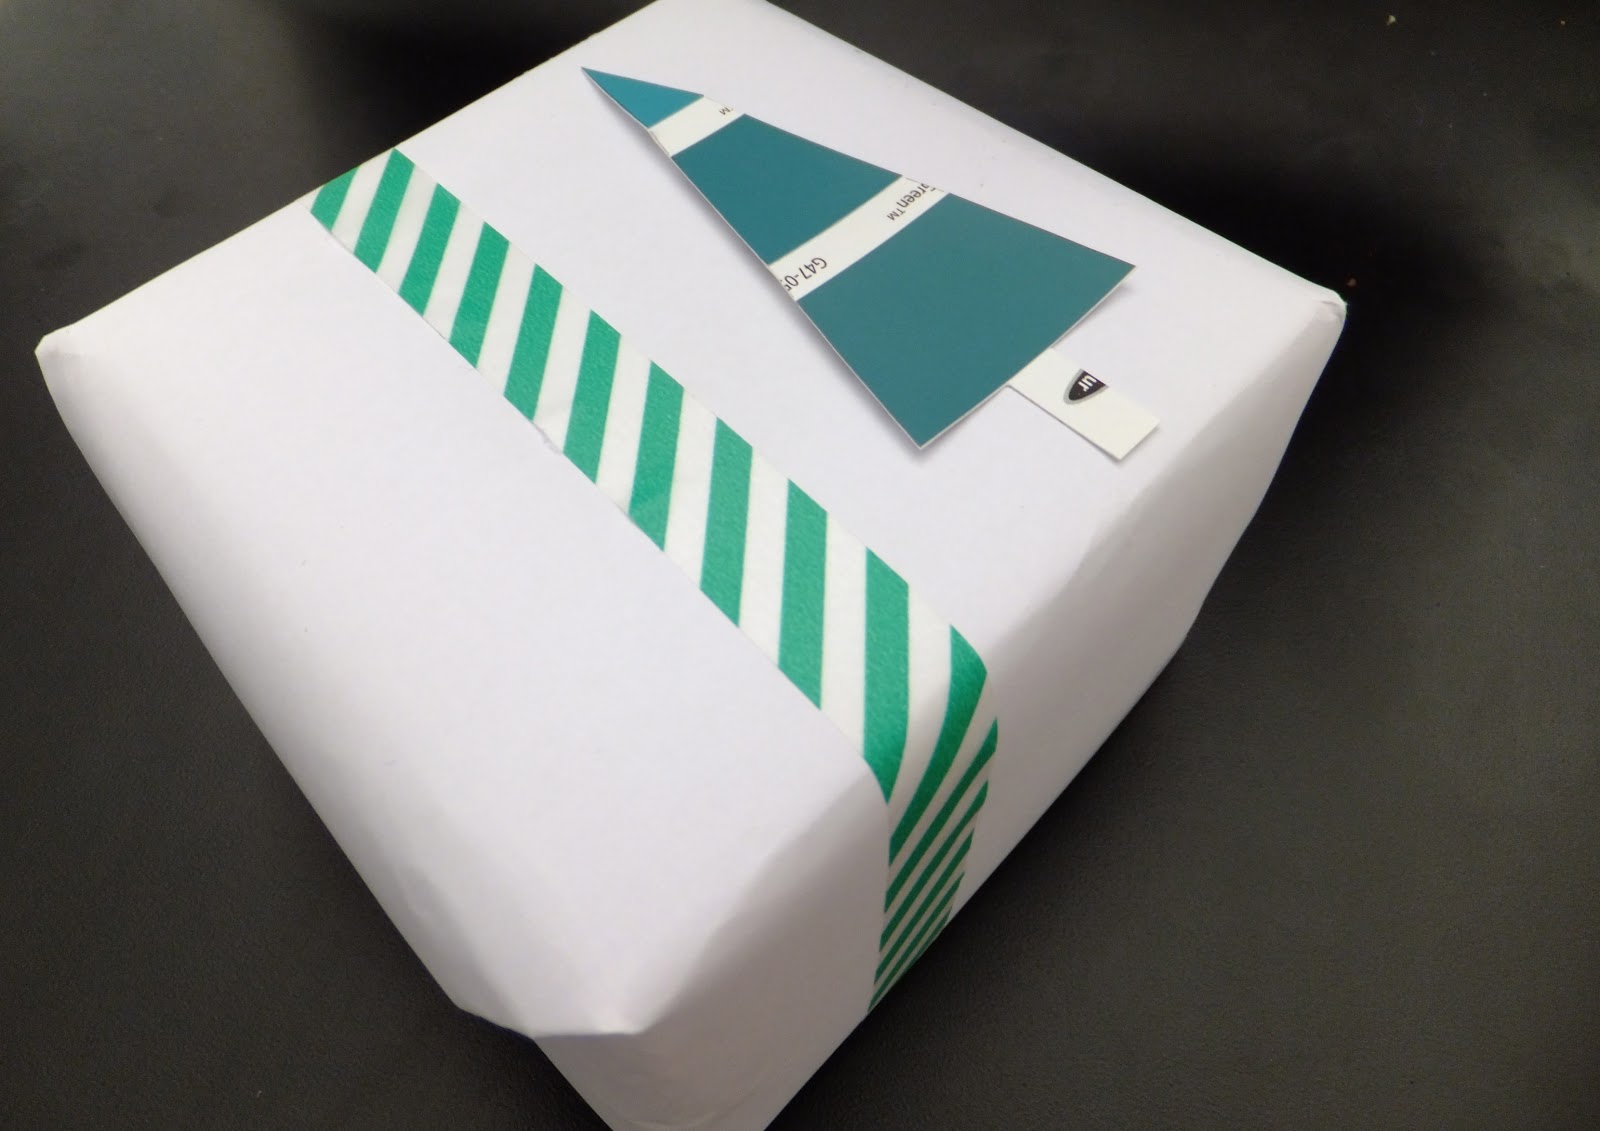
DIY Christmas gift labels

Less than two weeks until Christmas and I have not started my shopping yet.  Nothing like a bit of last minute hunting for meaningful gifts amongst the heaving crowds to really make it feel like it's Christmas.

I've been having one of those mornings when I probably should have been out shopping/gardening/doing anything other than what I did.  As you know, my poor chair is still unpainted, and I had some colour charts just sitting there begging to be looked at. Again.  So, using an idea I saw on the internet, I cut them up and made some gift labels for my non-existent presents.  That will teach you to nag at me, Colour chart.


I even went all out and made a Pretend Gift to go with the Real Tag just so you can see what the labels look like.  I'm committed, dear readers.


Time taken: 2 minutes
Cost: $0.  Not only have I saved you one whole dollar for some store-bought ones, but when you get to the part of wrapping up your own last-minute gifts late on Christmas Eve and realize you don't actually have any gift tags, you have also been spared from the need to get in your car, drive all the way across town, struggle to find a carpark, stand in line for half an hour and be served by a disinterested clerk behind the counter who doesn't actually mean it when they say Merry Christmas.  You're welcome).
Result: Cheap and cheerful.

Monday, 10 December 2012

Rua tekau ma toru, rua tekau ma whā, rua tekau ma rima

Ka rawe!  Génial!  Yee-hah Grandma!  In anyone's language, it's feeling pretty darned good to make it to the final few blocks!  Here they are:

The final flower on block 23:

Degree of difficulty: Easy
Time taken: 45 minutes
Result: This is my favourite-est flower of them all.


The penultimate block:

Degree of difficulty: Easy
Time taken: 45 minutes
Result: Not my best work, hopefully with a bit of yank in a few different directions, it will hold its shape better.


At last!  The final block is upon us.  It was an easy one to finish with using just one stitch - the double treble crochet.

Degree of difficulty: Easy
Time taken: 35 minutes
Result: Granny square on steroids.

Thanks for hanging in there with me, those daily crochet posts must have felt like pulling teeth there for a bit (it certainly felt that way for me), but we are nearly out the other side.

You'll see that these squares have a bit of curling going on around the edges.  In my gallop to the finish line, I photographed these ones without blocking them first.  Blocking is a process to help the squares stay flat, usually by pinning them to a firm surface, spraying them with a fine mist of water and then allowing them to dry.  There are probably plenty of tutorials demonstrating this step already, but please leave a comment if you would like me to show you how I do this.

After I've blocked the ones above, I will stitch the squares together and show you what you have all been wanting to see - the finished blanket.