
A reminder of how it looked before, and how it looks now:

When I realised that it was going to take a while to finish this project, rather than strip back the whole chair completely, I worked on the chair in stages so when I returned to the project, I could remember roughly how each area looked when it came time to put the new fabric back on.
I started with the legs and seat. The wobbly leg and back of the chair were fixed with a few well-placed screws. It's very sturdy now. Then I removed all of the old wadding and hessian fabric in the seat of the chair. 60 year old kapok is quite manky. I tried not to think about that too much. I stained the legs a mahogany colour. It was very fast-drying, only needing 30 minutes to cure. I'm really pleased with how they turned out.
There are some coil springs in the seat of this chair, and they are in great condition, thankfully. I used some wadding from my craft stash to pad the springs and then threaded some string around the springs with my wool needle to secure the wadding in place.


My clever and economical idea to use some oversized cushion inners as my padding turned out to be not so clever after all as they failed the Sit Test (even with adding the wadding, I could still feel the springs). A friend put me in touch with a local foam distributor and they cut some foam to my required dimensions. It was not as expensive as I thought it would be, but once you factor in the cushion purchases, and the lining and the upholstery fabric and the upholstery tacks, it all amounts to a very expensive project.
Add to that the fact that I cut myself on an old broken staple jutting out of the framework and bled over the fabric lining in a few places before I even noticed, so I had to make yet another trip to purchase some more fabric.
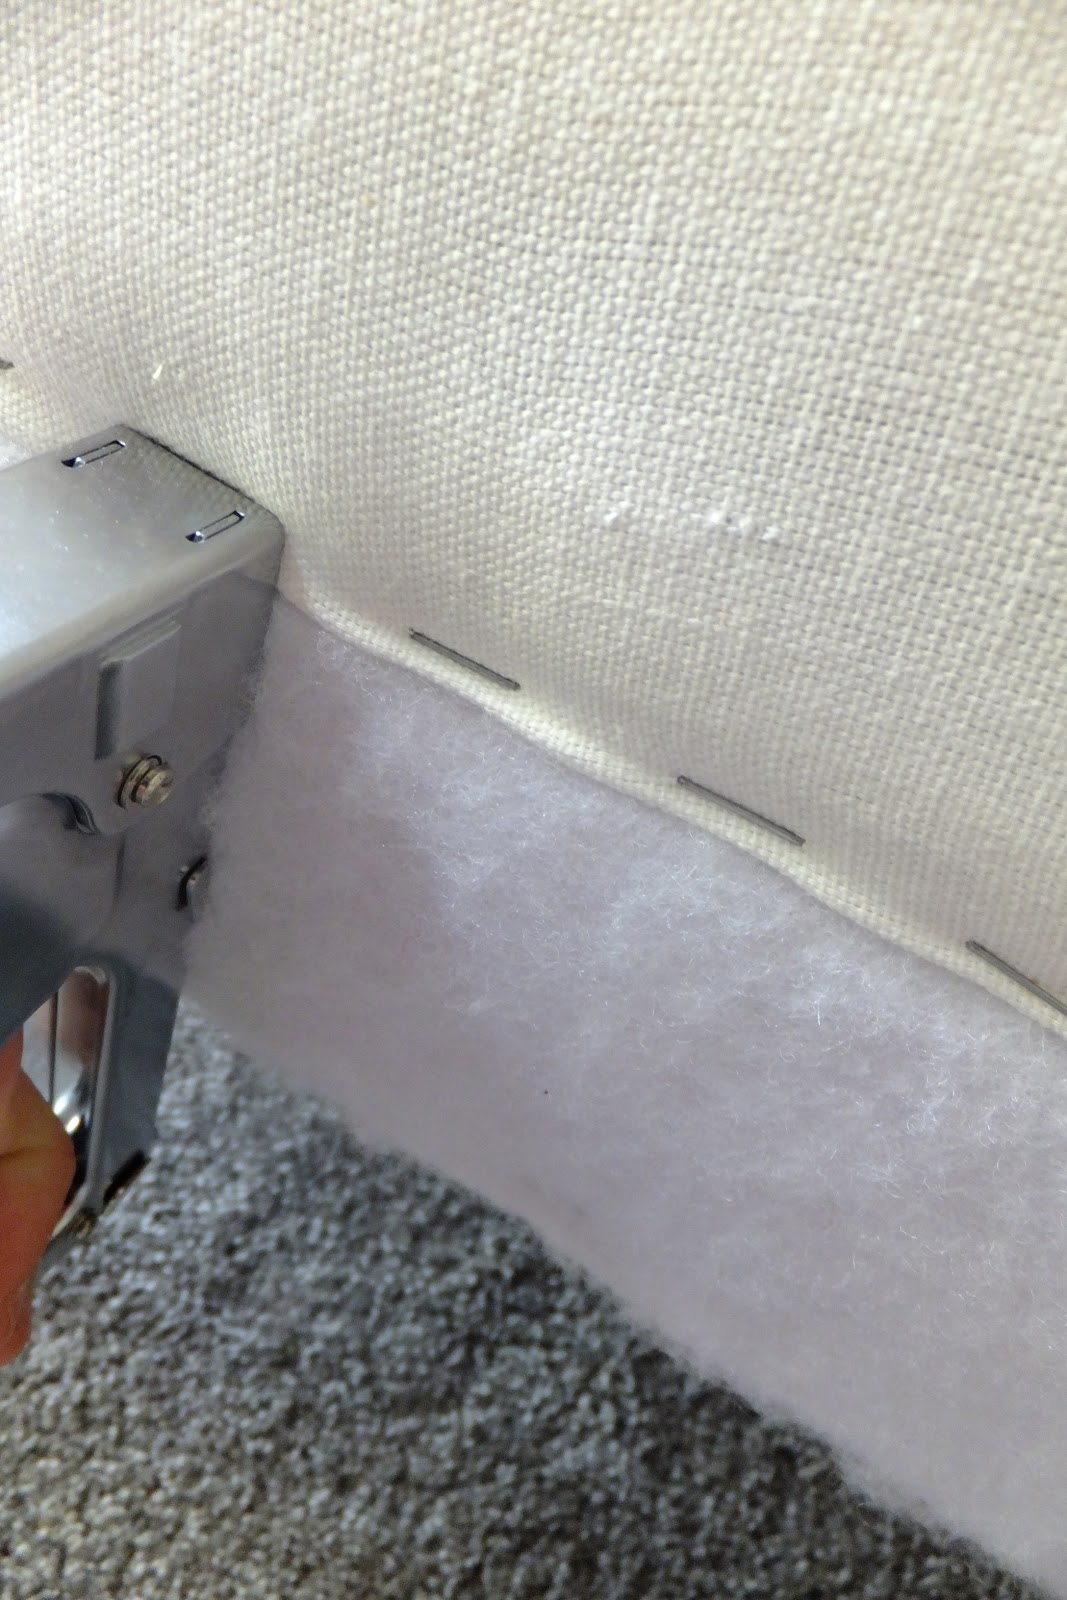
I covered the foam with some duck cloth and secured the fabric with my staple gun.
Who knew that you could work yourself into a sweat stuffing foam and yanking on fabric? The lining is so tight, if this chair was a human, there would definitely be some internal bleeding going on, possibly even a severed liver.

I used the old chair fabric as my template to cut into the new fabric, and added 100mm to the seat edges and 75mm to the chair back edges to allow for the new foam. The print is a Leanne Culy design called 'Rata'. This was the part that scared me the most; I adore this print, but it's knee-bucklingly expensive and even though I bought it on sale, the bubble of my children's university funds popped loudly in my head. Many deep breaths were taken before I cut into it for fear I'd cut it too short and render it useless.

It probably wasn't the most sensible fabric to use, given it has a pattern. If I was to upholster a chair again, I think that I would go with a solid colour so pattern alignment is one less consideration. All up, I used around 2.4 metres of fabric.
The observant amongst you will notice that I left the buttons off the chair back. I debated whether to add them, and decided against it for a couple of reasons, one being that I could not find any big enough to match the old ones. The other reason was that I felt buttons might compete with the circles already in the flower, so I decided to leave well enough alone.
My favourite part of this exercise was making the piping that finishes off the chair back:

I remember my mother having some old chairs reupholstered when we were children and not being allowed to sit on them unless they had a blanket covering them, which, at the time, made me question why she even bothered getting them recovered. I totally understand where she was coming from now! My plan was to put the chair in my bedroom and it will certainly be safe from little Marmite and jam fingers there, but it's so comfortable now and I like it so much I want to leave it in the lounge. Scotchguard, anyone?!
Time taken: 12 hours
Degree of difficulty: Let's just say I'm in no hurry to upholster anything else
Result: There are parts of the chair that highlight that this was done by a first-timer, but on the whole, I really like it.
I love, love, love this Leanne! I am too scared to re-upholster stuff!
ReplyDeleteDon't let my bad experience put you off. You can do it! My advice would be to start with something small, I think a piano stool or something similar would be a really good place to start.
DeleteThat's what I started a piano stool. Started ...
DeleteAnd we shall await the results. I can't wait to see it.
DeleteWell done!! Great success :)
ReplyDeleteThank Suz.
Delete